






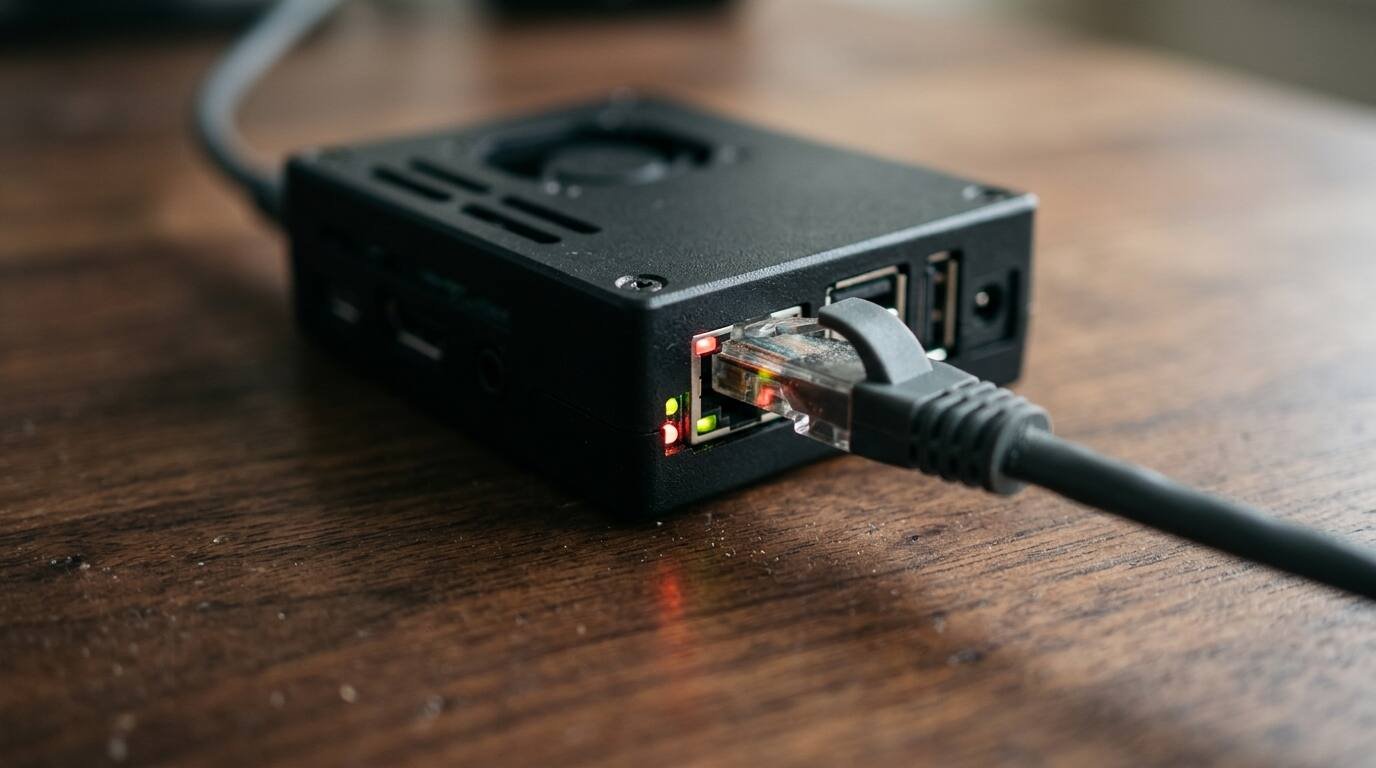
Turn a Raspberry Pi home server into a quiet, low-power box for file sharing and more: flash the OS, connect by SSH, add a service, and lock it down.
A Raspberry Pi home server is a small, quiet, low-power computer that can share files, block ads across your network, run a media library, or host a few self-contained apps around the clock. It draws only a few watts, costs far less than a full PC, and teaches you real server skills along the way.
This guide builds a basic, secure server in five steps: gather the hardware, flash the operating system, connect over SSH, install one useful service, and harden the setup. Commands assume Raspberry Pi OS, which is based on Debian, and details can differ on newer releases, so check the official documentation if something does not match.
What You Need
- A Raspberry Pi 4 or 5 with a suitable power supply
- A microSD card or an SSD, and a case
- An Ethernet cable and a free router port
- Another computer to flash the card and connect with SSH
Step 1: Gather the Hardware
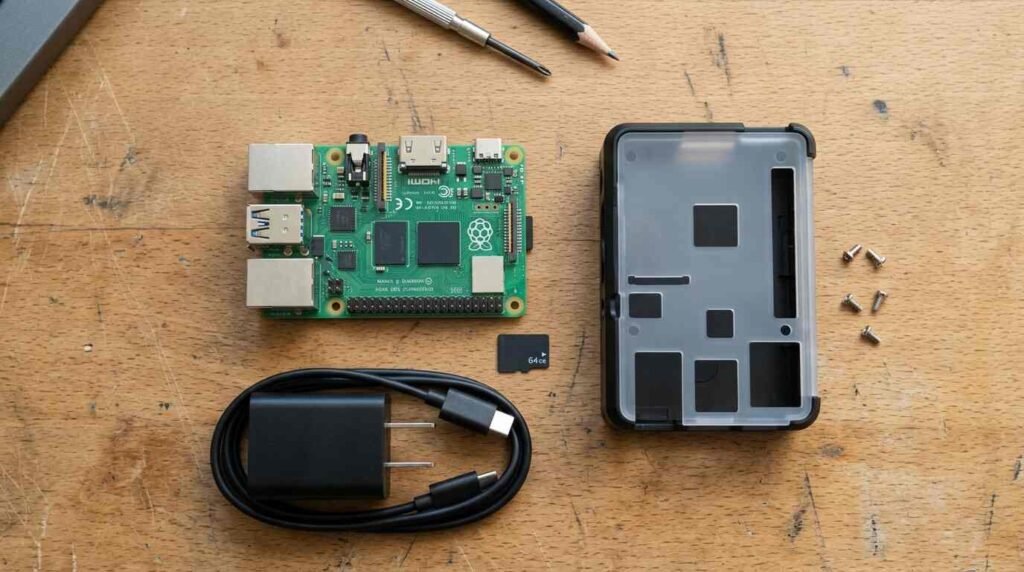
Use a good power supply, since under-voltage causes odd crashes. Choose a quality microSD card, or better, boot from a USB SSD for reliability, because SD cards wear out under constant writes.
Wired Ethernet is more reliable than Wi-Fi for a server, so plan to plug the Pi directly into your router or switch.
Step 2: Flash the Operating System
On your other computer, install Raspberry Pi Imager and choose your Pi model and Raspberry Pi OS Lite, which has no desktop and uses fewer resources.
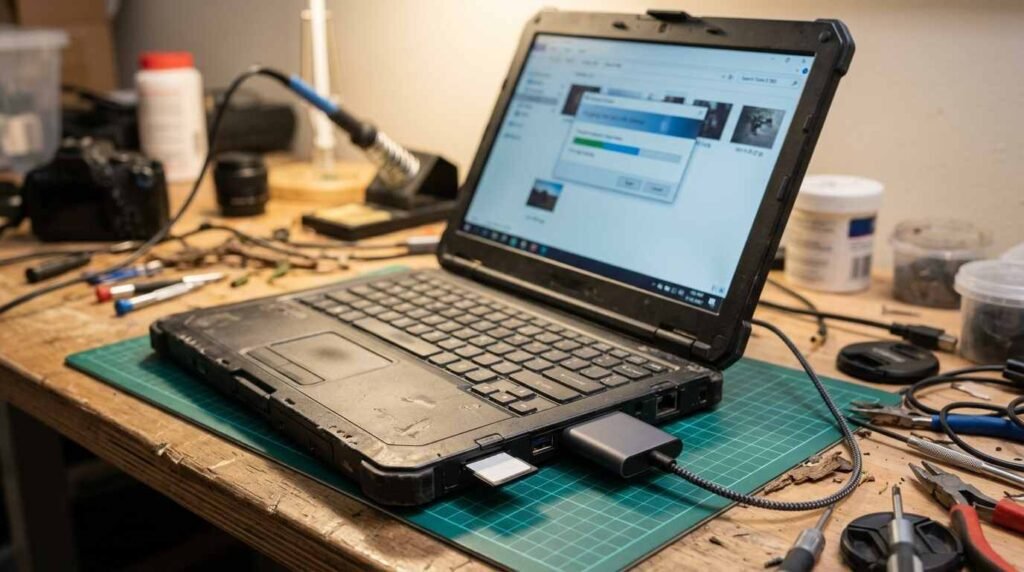
Open the advanced settings before writing. Set a hostname, create a username and a strong password, and enable SSH. Then write the card and insert it into the Pi.
Step 3: Boot and Connect Over SSH
Plug in the Ethernet cable, then the power. After a minute or two, open a terminal on your other computer and run ssh username@hostname.local, replacing both with the values you chose.
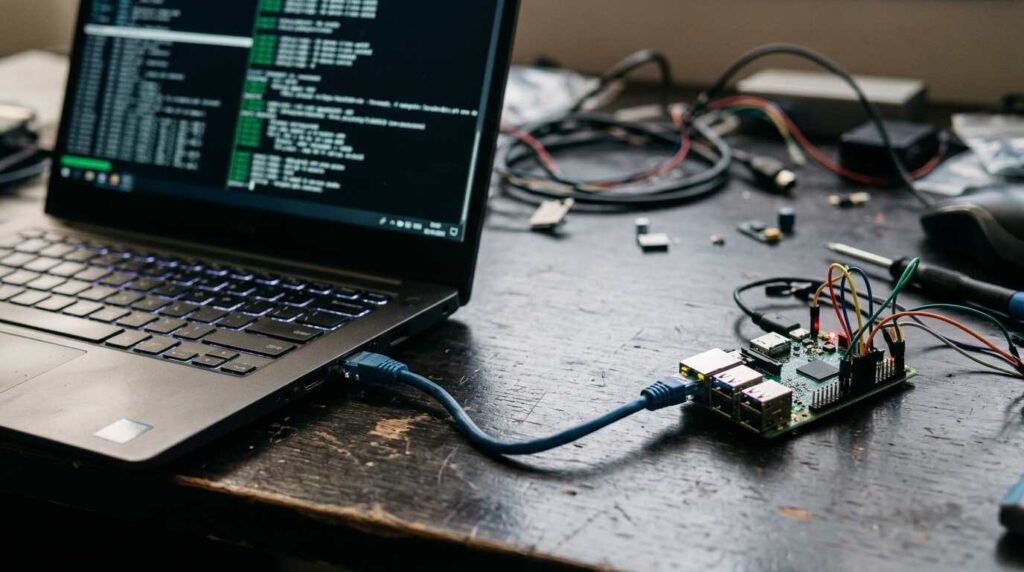
Once you are in, update the system with sudo apt update followed by sudo apt full-upgrade, then restart. Keeping the system patched is the first rule of running any server.
Step 4: Install a Useful Service
Start with one service so you can learn how it behaves. File sharing is a good first choice: sudo apt install samba, then configure a shared folder, so other devices on your network can reach it.
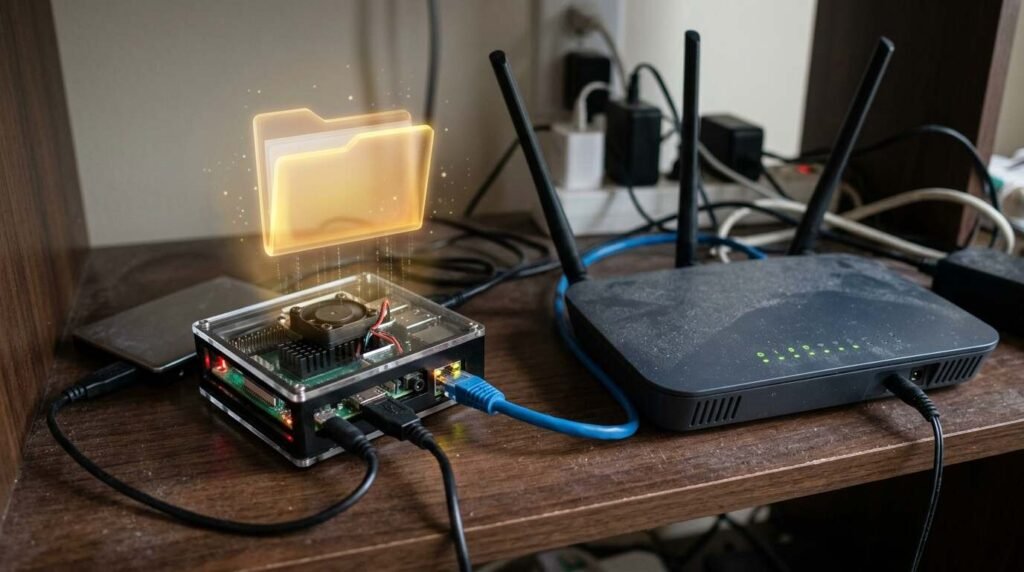
Other popular first projects include a network-wide ad blocker, a personal media server, or a backup target. Give the Pi a fixed address by creating a DHCP reservation in your router so its address does not change.
Step 5: Lock It Down and Maintain It
Set up SSH keys and then disable password login in the SSH configuration. Enable a simple firewall such as ufw, and allow only the ports your services use.

Do not expose the Pi directly to the internet unless you know exactly why. Back up its configuration, keep it updated, and plan to replace the SD card periodically if you stay on one.
Troubleshooting
- If SSH cannot connect, check the hostname, the cable, and that SSH was enabled before flashing
- If the Pi randomly reboots, replace the power supply
- If the system feels slow, check the storage and consider an SSD
- If you are locked out after changing SSH settings, re-flash the card and repeat the setup
Frequently Asked Questions
Which Pi model should I buy? A Pi 4 or newer with 4 GB of memory or more is a comfortable choice for most home server jobs.
Is a Pi powerful enough? For file sharing, DNS, and light apps, yes. Heavy video transcoding is better on a stronger machine.
Can I use Wi-Fi? You can, but a cable is steadier for a server.
How much does it cost to run? Very little. A Pi typically draws a few watts, so electricity costs are small.
Bottom Line
A Raspberry Pi home server is a low-cost way to own a piece of your home network. Get stable hardware, flash a lean OS, connect by SSH, add one service, and lock it down. Then add services one at a time as you gain confidence.




3 Comments