







Learn how to back up iPhone data to iCloud and to a Mac or Windows PC, why encryption matters, and how to confirm your backup actually worked.
The easiest way to back up iPhone data is to use two copies: one in iCloud and one on your own computer. A phone can be lost, dropped, or stolen in seconds, and a backup is the difference between restoring everything and starting over. Photos, messages, app data, and settings are all covered when the backup is done properly.
This guide shows both methods, explains the one checkbox that decides whether your health and password data are included, and ends with a quick way to confirm the backup is real. Menu names change slightly between iOS versions, so follow the closest label if yours reads a little differently.
What You Need
- Your iPhone, charged, and its passcode
- A Wi-Fi network for the iCloud backup
- A Lightning or USB-C cable and a Mac or Windows PC for the computer backup
- Enough iCloud storage; the free tier is small, so you may need a paid plan
Step 1: Check Your iCloud Storage
Open Settings, tap your name at the top, then tap iCloud. A bar shows how much space is used. Apple’s free tier is limited, and photos can fill it quickly.
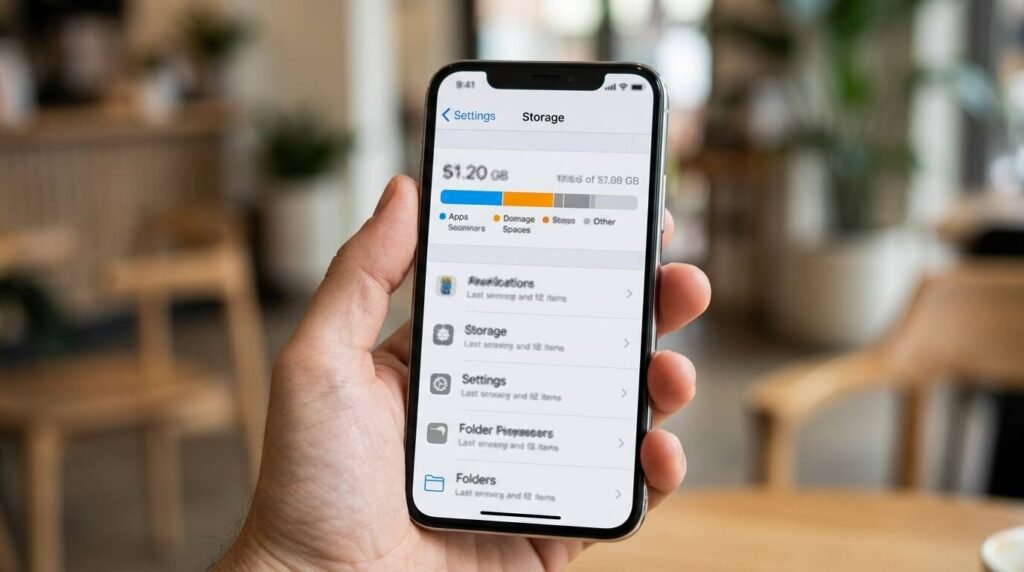
If the bar is nearly full, either clear space or buy a larger plan from the same screen. A backup that cannot finish for lack of space silently fails, which is the most common reason people discover too late that they had none.
Step 2: Turn On iCloud Backup
From the iCloud screen, tap iCloud Backup and switch on Back Up This iPhone. Tap Back Up Now to start one immediately, and keep the phone on Wi-Fi until it finishes.
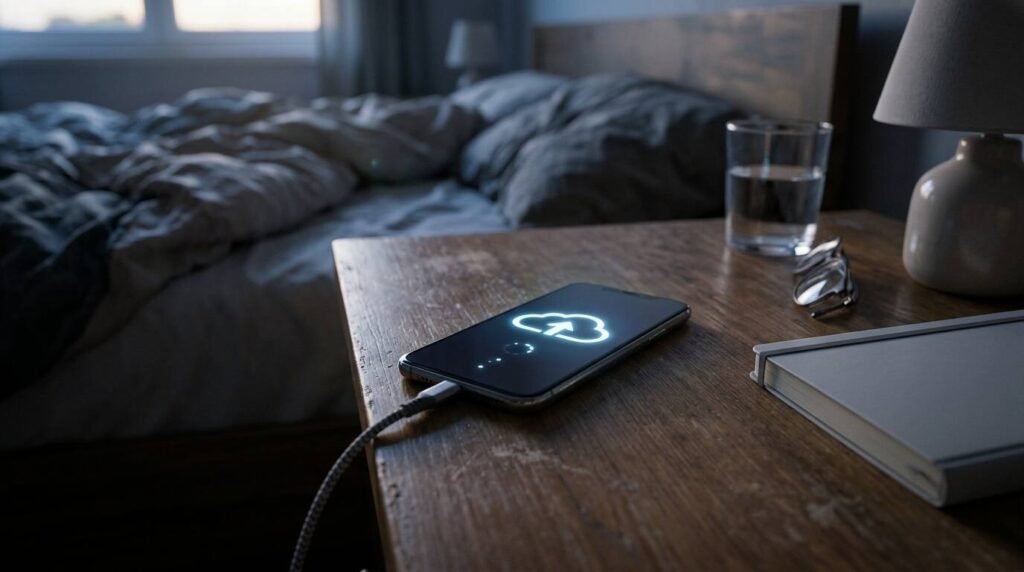
Once enabled, the phone backs up automatically when it is locked, plugged in, and on Wi-Fi. That makes it a set-and-forget safety net for everyday use.
Step 3: Connect to Your Computer
Plug the iPhone into your computer with a cable. On a Mac, open Finder and select the iPhone in the sidebar. On Windows, use the Apple Devices app or iTunes, whichever you have installed.
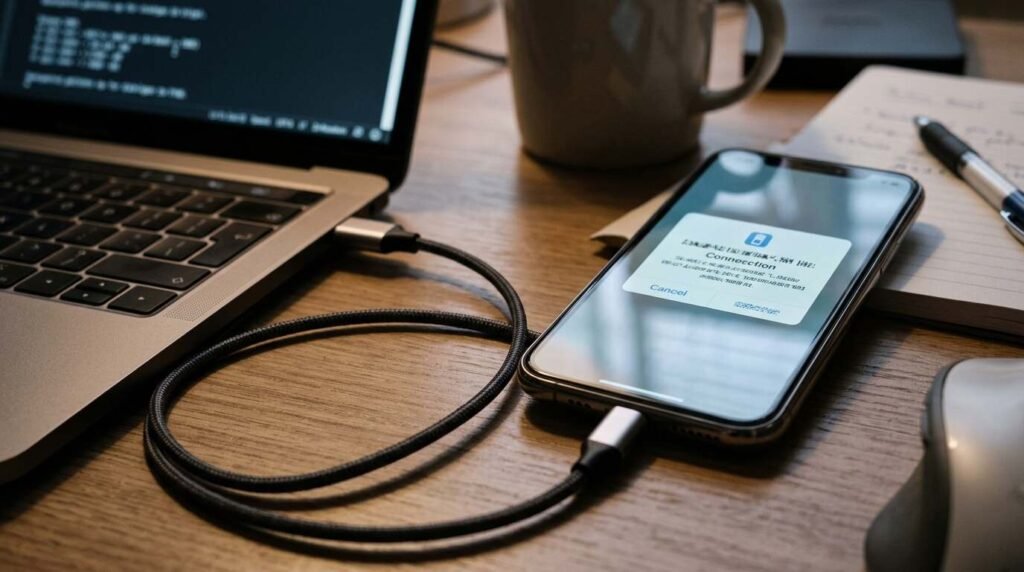
If asked, unlock the phone and tap Trust on its screen, then enter your passcode. The computer cannot see the phone until you approve it.
Step 4: Encrypt the Local Backup
In the backup section, choose to back up all data on the iPhone to this computer, then tick Encrypt local backup and set a password. Encryption is what lets the backup include saved passwords, Health data, and Wi-Fi settings.

Write the password down somewhere safe. Without it, the backup cannot be restored, and Apple cannot recover it for you.
Step 5: Run the Backup and Verify It
Click Back Up Now and wait for the progress bar to finish. Afterwards, look for the date and time of the latest backup in the same window. On iPhone, Settings, your name, iCloud, iCloud Backup also shows the time of the last successful backup.
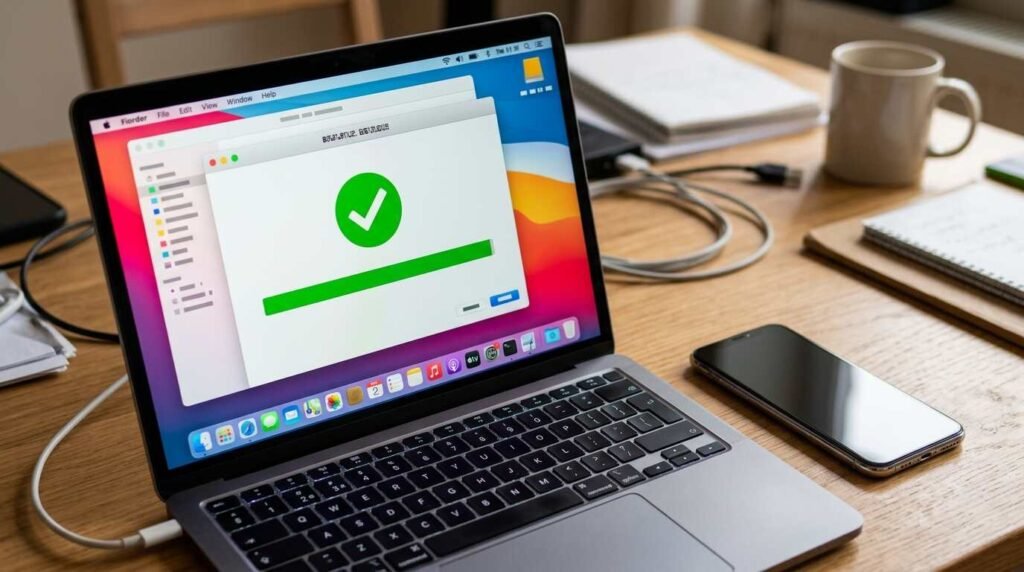
A backup you have never checked is only a hope. Confirm both timestamps are recent, and repeat the check every few months.
Troubleshooting
- If iCloud says the backup is too large, free space or upgrade the plan
- If the computer does not see the phone, try a different cable or port and tap Trust again
- If the backup fails partway, restart the phone and run it again
- If you forgot the encryption password, you will need to make a new backup
Frequently Asked Questions
Do I need both backups? Not strictly, but two copies in two places is much safer than one.
How often should I back up? iCloud does it daily when conditions are met. Make a manual computer backup before updates or trips.
Are photos included? If iCloud Photos is on, photos live in that service and not in the device backup. Check which one you rely on.
Will a backup restore my apps? The backup stores your app data and layout. The apps themselves download again from the App Store during restore.
Bottom Line
Two copies, one encrypted, both verified. That is the whole routine, and it takes about fifteen minutes. Do it today, set a reminder for the computer copy, and let iCloud handle the daily work in the background.